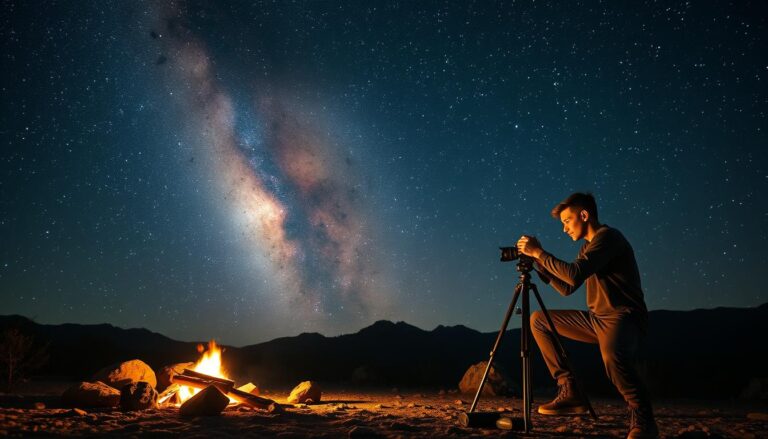
What if the biggest barrier to capturing the stars isn’t your gear, but the overwhelming advice you find online?
I remember my first attempt. I was surrounded by technical terms that felt like a foreign language. The raw beauty of our galaxy stretching across the dark sky is a sight that captivates anyone with a camera. Yet, that initial excitement often turns to frustration.
This guide cuts through the noise. I’ve been there, making all the mistakes so you don’t have to. My goal is to give you practical, proven starting points that work in real-world conditions, not just theoretical numbers.
You don’t need the most expensive equipment. What matters is understanding the simple relationship between your camera and the available light. Yes, your lens and location play a role. But having a solid foundation makes all the difference between failure and your first stunning shot.
In the next few minutes, I’ll walk you through five clear steps. This is the straightforward approach I wish I had when I started. Let’s begin.
Table of Contents
Introduction to Night Sky Photography
Great images of our galaxy start with knowing when and where to look, as its visibility is a seasonal dance. This type of shooting is fundamentally different. You are collecting extremely faint light that has traveled across the cosmos.
I want to share the reality. You cannot just step outside on any night. Success requires planning around moon phases, weather, and finding true darkness.


The core challenge is balancing two needs. Your camera must gather enough of that ancient light. Yet, you must also keep the stars as sharp points, not streaks, which means understanding the Earth’s constant rotation.
This seasonal nature is key. In the northern hemisphere, the bright core of our galaxy is only visible for part of the year. Here’s a clear breakdown:
| Season | Visibility Window | Position in Sky | Best Viewing |
|---|---|---|---|
| Spring | April – May | Southeastern | Early Morning (3-5 AM) |
| Summer | June – August | Due South | All Night |
| Fall | September – October | Southwestern | Evening (8 PM – 12 AM) |
| Winter | November – February | Not Visible | Core is below horizon |
Set realistic expectations. Stunning shots are possible with entry-level gear when you master these fundamentals. The moment your first clear image appears on the LCD after a long night makes all the planning worthwhile.
This foundation turns the technical numbers you’ll see later from confusing rules into intuitive tools.
Understanding Your Nighttime Photography Gear
I often get asked if expensive gear is mandatory for capturing the night sky. The truth is more nuanced. Your equipment is simply a tool to gather faint light. Understanding a few key pieces makes a huge difference.
Choosing the Right Camera and Lens
Let’s start with your camera. Any modern DSLR can work. The sensor size matters most. Full-frame cameras handle high ISO with less noise. Crop-sensor models are more affordable but may show grain around ISO 800.
Your lens choice is critical. You need a wide aperture like f/2.8 or faster. This lets in more light. Popular options range from the budget Rokinon 14mm to premium Nikon zooms.
Watch for coma. This distortion makes stars look like little wings at the edges of your frame. Stopping down your aperture can fix it.
| Feature | Full-Frame Sensor | Crop-Sensor |
|---|---|---|
| ISO Performance | Excellent at high ISO (3200+) | Good, noise appears earlier (~ISO 800) |
| Field of View | Wider with same focal length | Narrower, more zoomed-in effect |
| Cost | Higher | More budget-friendly |
| Best For | Low-noise, expansive shots | Beginners learning techniques |
Essential Accessories and Star Trackers
Your support gear is non-negotiable. A sturdy tripod prevents blur. A wireless remote eliminates shake. A red headlamp saves your night vision.
A star tracker is a game-changer. It rotates your camera to follow the stars. This allows exposures of several minutes. You collect vastly more light. For improving image quality, a $400 tracker often beats a new $3000 camera body.
Planning Milky Way Locations and Managing Light Pollution
Before you even pack your camera bag, the real work begins with strategic planning for darkness and composition. I scout every location during daylight to find compelling foregrounds and safe camera positions.
Utilizing Stellarium, TPE, and Dark Sky Maps
My planning relies on specific tools. Stellarium shows the galaxy’s position. The Photographer’s Ephemeris tracks moon phases and twilight. Dark sky maps reveal pollution levels.
Even yellow zones on these maps can work if you face away from city glow.
| Tool | Primary Function | Best For | Cost |
|---|---|---|---|
| Stellarium | Visualizes galactic core position | Pre-shoot planning | Free (desktop) |
| The Photographer’s Ephemeris | Moon/sun rise/set times | Timing around moonlight | Free |
| Photo Pills | Augmented Reality night sky view | In-field composition | Paid app |
| Light Pollution Map | Shows horizon pollution impact | Finding dark sky sites | Free |
Timing Your Shoot for Optimal Darkness
Check Clear Dark Sky forecasts for cloud conditions. The darkest blue rows mean perfect transparency.
Plan your shoot during astronomical twilight when the sun is deepest below the horizon. A bright moon will wash out your shot.
📚 Read Next
The Core Principles: If you are struggling with these specific settings, brush up on your basics with How Do I Set Up a DSLR to Take Photos of the Stars?
Bring Out the Colors: Capturing the Milky Way is only 50% of the work. The real magic happens later. Learn How to Edit Astrophotography Like a Pro.
Astronomical Timing: To capture the most vibrant part of the galaxy (the galactic center), EarthSky recommends planning your shoots between March and October in the Northern Hemisphere.
Essential Milky Way Photography Settings for Beginners
Forget the confusing charts; here are the proven camera settings I use every time. They create a balanced foundation for gathering faint starlight.
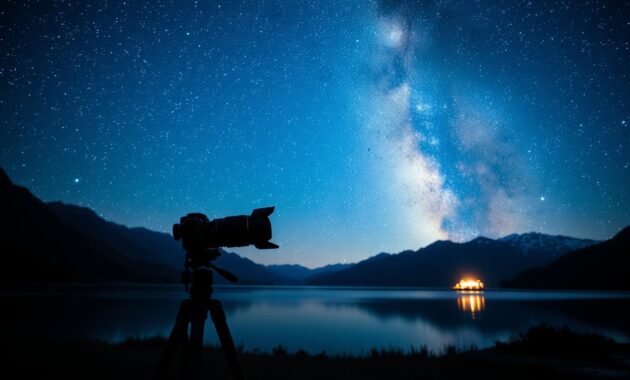
- Shutter Speed: 20 seconds
- Aperture: f/2.8
- ISO: 3200 to 4000
- White Balance: 4000K
These aren’t random numbers. A 20-second exposure gathers light but keeps stars sharp. The f/2.8 aperture lets in maximum light on most lenses. ISO 3200-4000 brightens the scene without overwhelming noise.
Set your white balance to 4000K. This captures the galaxy’s natural colors, avoiding a harsh orange or blue tint.
This is your starting point, not a rigid rule. Take a test shot. Review it on your LCD. Is it too dark? Try ISO 4000. Is there light pollution? You might lower the ISO.
Auto modes fail here. Your camera‘s meter can’t read the dark sky. Manual control is essential. Trust these settings, adjust with purpose, and watch your first real image of the cosmos appear.
Mastering Exposure: ISO, Aperture, and Shutter Speed
The exposure triangle takes on a new meaning when you’re collecting starlight instead of sunlight. You’re working at the extreme limits of your camera. Each control involves a crucial trade-off.
Starting Exposure Settings for Night Photography
I use a proven baseline from photographer Diana Robinson: f/2.8, 20 seconds, and ISO 4000. This is your foundation.
ISO controls sensor sensitivity. A higher value brightens the shot but adds noise. Aperture dictates how much light enters. Wider openings like f/2.8 gather more but can cause soft corners.
Your shutter speed is the timer. Keep it under 25 seconds to prevent star trails. Start here, then adjust.
Adjusting Settings in Varying Light Conditions
Conditions change everything. Paul Van Allen once used an f/4 lens in Yellowstone. His exposure required ISO 10000 and a 25-second shutter speed. That wasn’t a mistake—it was necessary.
If your test shot is too dark, adjust ISO first. Can you lengthen the shutter speed without trailing? Finally, consider opening the aperture wider.
If the image is too bright, reverse the process. Decrease your exposure time or use a smaller aperture. Always check your histogram, not just the bright LCD.
Mastering night exposure is about informed compromise. There’s no single perfect setting, just the right balance for your scene.
Using Star Trackers for Extended Exposures
The Earth’s rotation forces a harsh trade-off, but there’s a tool that sidesteps it completely. A star tracker is a motorized mount that rotates your camera to match the apparent movement of the stars.
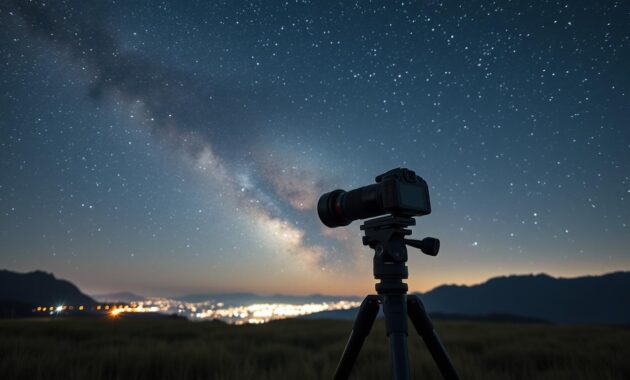
This lets you take exposures of several minutes, not just 20 seconds. Imagine capturing four minutes of light instead of twenty seconds. You gather vastly more photons.
The impact on your images is dramatic. With that much more signal, you can use a lower ISO for cleaner shots. You can also stop your lens down to f/4 or f/5.6.
This eliminates coma and corner softness. For improving quality, a $400 tracker often beats a new $3000 camera body. It solves the fundamental problem of gathering light.
There is a learning curve. You must polar align the device and balance your gear. Models like the iOptron SkyTracker Pro work well.
Be honest about the downsides. Trackers add weight. They don’t work for shots with large foregrounds. You’ll need separate exposures for sharp land elements.
This tool isn’t for everyone. But if you crave ultra-detailed shots of the Milky Way, it’s a game-changer. It unlocks a new length of creative possibility.
Overcoming Noise and Enhancing Image Quality
Improving your night images starts with a shift in thinking. Move from fighting noise to gathering more of the right kind of light.
Think of noise like background chatter in a busy room. Your starlight is the quiet conversation you want to hear. The Signal-to-Noise Ratio explains this. You need enough signal to overpower the camera’s inherent hiss.
Cranking up your ISO amplifies everything—both signal and noise. A better camera helps, but it can’t create light that wasn’t captured. The real solution is gathering more photons.
For photographers without a tracker, image stacking is a powerful technique. You take 10 to 20 identical shots. Special software, like the free Sequator for Windows, then averages them. This process cancels out random noise while reinforcing the true star signal.
It dramatically improves final image quality. I must share an important warning for some Sony mirrorless users. Models like the a7SII can have a “star-eating” bug. The camera mistakenly removes faint stars, thinking they are hot pixels.
Remember this core principle. Clean images come from a high signal-to-noise ratio. Capture more light, and the noise becomes negligible.
Lens Selection and Managing Coma Aberrations
Have you ever zoomed into a night shot and seen stars that look more like tiny birds than points of light? That’s coma. This optical flaw turns sharp stars into weird, winged shapes, especially in the corners of your frame.
In regular landscape photography, you might not notice these aberrations. But with stars as your main subject, any distortion becomes glaringly obvious. Your lens choice impacts your results more than your camera body.
Choosing the Right Wide-Angle Lens
You don’t need to spend a fortune. Here’s a practical framework based on budget:
- Under $500: The Rokinon 14mm f/2.8 is a manual focus champion.
- $500-$1,000: Consider the Tokina 14-20mm f/2.
- $1,000-$2,000: The Tamron 15-30mm G2 is one of the best wide-angle options today.
- Over $2,000: The Nikon 14-24mm f/2.8 offers minimal coma and distortion.
Here’s a controversial truth. Many expensive Canon and Nikon lenses don’t perform well for this specific use. Cheaper third-party options often excel.
Techniques for Minimizing Coma Distortion
The most direct fix is stopping down your aperture. Going from f/1.4 to f/4 can eliminate coma but costs you 8x the light. This is where a star tracker proves its worth.
Always test your lens at different apertures to find its sweet spot. Remember, coma is worst in the corners. You can sometimes compose your shot to avoid problematic areas.
Researching astrophotography-specific lens reviews before you buy will save you from expensive mistakes.
Integrating Foreground Elements with Lightpainting Techniques
Your most powerful tool for a compelling night scene might already be in your pocket: a simple flashlight. A great star photo needs an anchor. An interesting foreground provides scale and a sense of place.
The challenge is real. When you expose for the sky, the land becomes a black silhouette. You must add light back into the scene.
This is called lightpainting. I’ve seen Tony Krup use a smartphone flashlight to paint trees in Joshua Tree. The key is to keep the light moving during the entire shot. This avoids harsh hot spots.
You have two main methods. Each has its own best use case.
| Technique | Tool | Method | Best For |
|---|---|---|---|
| Constant Light | Flashlight or phone light | Wave light continuously over subject during exposure | Gentle, even illumination of large areas |
| Speedlight Flash | External flash unit | Manually “pop” the flash while moving around | Lighting specific, distant objects with more power |
| Creative Gels | Colored gel over light source | Use either constant or flash method | Adding unique color moods to your foreground |
Now, let’s solve the focus puzzle. If your foreground is more than 10 feet away, infinity focus works. For closer elements, you need a second shot.
Diana Robinson’s blend method is reliable. Take one exposure for the stars. Then take a second, longer one just for the land. Blend them later. This gives you a perfectly exposed frame.
Start with a flashlight. Experiment. You’ll be amazed how it transforms your night photography.
Post-Processing Techniques for Nightscapes
The magic of a nightscape often reveals itself not in the field, but on your computer screen during editing. This is where your vision comes to life.
Always shoot in RAW. This format gives you the latitude to correct white balance and recover shadow detail without degrading the image. I start by adjusting the color temperature to around 4000K. This brings out the natural hues of the night sky.
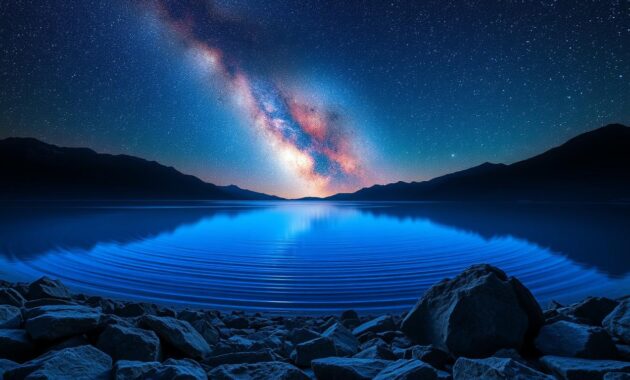
Managing noise is critical. I recommend tools like Topaz DeNoise AI. They use smart algorithms to reduce grain while preserving fine star detail. Traditional methods can blur your stars into mush.
For shots with a foreground, exposure blending is key. Techniques like luminosity masks let you merge separate sky and land images seamlessly. This creates a balanced, natural-looking photo.
Avoid common pitfalls. Over-saturating the sky makes it look artificial. Pushing clarity too hard creates halos. Your goal is to enhance what you captured, not to rescue a poor exposure. Great processing reveals the scene you saw, with clarity and emotion.
Learning from Expert Tips and Real-life Examples
Let’s move from principles to practice by examining how renowned photographers tackle real challenges. Their field stories reveal the nuance behind every great photo.
I’ve learned more from their adaptations than any manual.
Camera Settings and Star Tracker Success Stories
Diana Robinson’s systematic approach is a masterclass. She relies on a Nikon D850, a 14-24mm lens, and a suite of planning apps.
Her favorite settings are a starting point, not a rule. She adjusts based on the field conditions in places like Nebraska’s sandhills.
Paul Van Allen’s work for Nikon shows necessary flexibility. His Yellowstone shot used an f/4 lens, requiring ISO 10000. That high ISO wasn’t a mistake—it was the perfect choice for that scene.
A star tracker can be a game-changer for these experts, allowing longer exposures and cleaner details.
Case Studies from Noted Astrophotographers
Tony Krup creates magic in Joshua Tree with a simple smartphone flashlight. His astrophotography blends technical skill with creative light painting.
Ken Lee’s dedication is inspiring. He drives through the night and teaches workshops. His published photos prove that mastery comes from relentless practice.
Each expert applies the core fundamentals we’ve discussed. They just refine them through experience.
| Photographer | Key Strategy | Typical Gear | Favorite Location |
|---|---|---|---|
| Diana Robinson | Meticulous planning with apps | Nikon D850, 14-24mm f/2.8 | Western USA dark sky sites |
| Tony Krup | Creative light painting | Various cameras, flashlight | Joshua Tree National Park |
| Paul Van Allen | Adapting settings to lens limits | Nikon Z6, 14-30mm f/4 | Yellowstone National Park |
| Ken Lee | All-night dedication and blending | Full-frame camera, fast lens | Remote wilderness areas |
Their work shows there’s no single path. Success in astrophotography means learning the rules, then knowing when to bend them for the Milky Way.
Conclusion
Mastering the dark sky is less about memorizing numbers and more about understanding a fundamental relationship. Successful photos of our galaxy come from balancing light, your exposure settings, and your gear’s limits. The five-step framework gives you a reliable path.
Your first night out likely won’t yield perfect results. That’s completely normal. Start with the basic settings—20 seconds, f/2.8, ISO 3200—as your starting point. Take test shots and adjust from there.
Great night photos are achievable with modest camera gear when you grasp these fundamentals. Investing in a fast lens or a tracker will accelerate your progress. The real learning, however, happens when you get out under the stars and practice.
The moment you finally capture that stunning shot, you’ll know every challenge was worth it. You’ve created something beautiful through skill and persistence. Now, trust the process and head into the field.
FAQ
What is the best camera and lens for a beginner starting in astrophotography?
How do I find a location with minimal light pollution for a clear shot?
What are the essential exposure settings I should start with?
Is a star tracker necessary for capturing the Milky Way?
How can I reduce noise in my high-ISO night images?
What is “coma aberration” in a lens, and why does it matter?
How can I add interest to my foreground without creating blur?
What are the key post-processing steps for a Milky Way photo?

I’m Rodrigo Durães, founder of CareersForge — the world’s leading career platform — and recognized as one of the most comprehensive and experienced career and life coaches globally. With multiple academic degrees from the world’s top universities and over two decades of experience as a CEO, my mission is clear: to help people unlock their full professional potential through honest, strategic, and proven content.