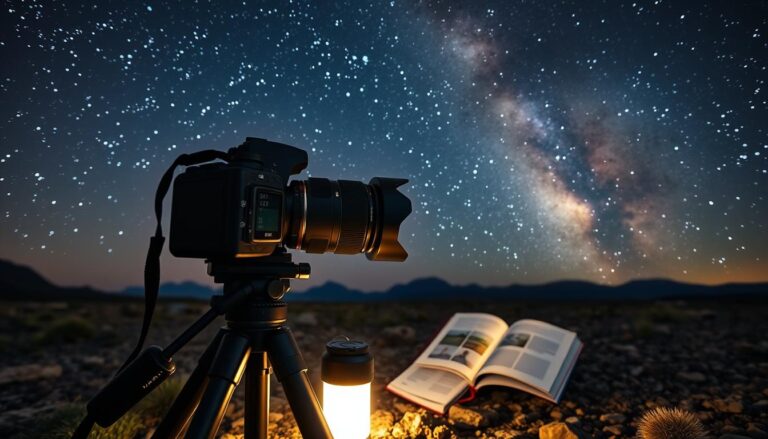
Have you ever looked up at a clear night sky, dotted with countless stars, and wondered if your camera could truly capture that magic?
I have. I’ve spent years with my camera under the stars, and that first time you see the Milky Way appear on your screen is pure wonder. Your camera sensor sees light your eyes can’t, revealing hidden details in the darkness.
My early attempts were rough. Blurry shots, grainy skies, and frustration were my teachers. But I learned. This photography isn’t about expensive gear. It’s about understanding a few key settings.
This guide shares the seven steps that changed everything for me. You’ll learn to choose gear, find dark locations, nail focus, and edit your photos. I’ll give you the real settings I use, so you can skip my mistakes.
Let’s turn that sparkling night sky into an image you’ll treasure.
Table of Contents
Understanding Star Photography and Essential Equipment
I’ve found that success under the stars begins with a few core pieces of equipment. The right gear turns a frustrating night into a session full of sharp photos.
Key Gear: DSLR, Tripod, and Wide-Angle Lenses
You absolutely need three things. A camera with manual controls, a sturdy tripod, and a wide-angle lens. The tripod is non-negotiable for long exposures in astrophotography.


Your lens should have a large aperture, like f/2.8 or wider. From experience, I recommend focal lengths around 14-24mm for full-frame cameras.
Crop sensor users should look at 10-18mm lenses. These capture vast swaths of the night sky and are forgiving for this type of photography.
Apps and Tools for Astrophotography (e.g., PhotoPills)
One tool I use every time is the PhotoPills app. It’s a game-changer for planning astrophotography shoots. This eliminates guesswork.
Don’t forget smaller items. A red headlamp preserves your night vision. Spare batteries are crucial for your camera in cold weather.
A remote shutter release prevents shake. Extras like a heated band for your lens can prevent fog. Keep your equipment portable for remote locations.
Selecting the Ideal DSLR and Lens for Night Sky Shots
I’ve guided countless photographers on selecting gear, and the same two questions always come up: full-frame or crop sensor, and which lens?
Let’s start with the camera body. Full-frame sensors handle high ISOs better, giving you cleaner night sky images. But I’ve seen stunning results from APS-C cameras too.
Even an entry-level camera like the Canon EOS Rebel T7i can capture incredible shots. You don’t need specialized astro gear to begin.
Full-Frame vs. Crop Sensor Considerations
Don’t let equipment hold you back. Modern crop sensor cameras perform well at ISO 1600-3200. The noise they introduce is often manageable in editing.
Your lens choice matters more. You need a wide-angle lens with a large aperture—f/2.8 or lower. This gathers enough light quickly.
A 24mm f/1.4 makes the Milky Way appear larger. An ultra-wide 14mm f/2.8 fits more sky. The focal length dictates your exposure time.
An 18mm lens might allow 20-second shots before star trailing appears. Fisheye lenses create jaw-dropping, immersive images despite distortion. It’s a creative choice that can make your photos stand out.
How to Set Up a DSLR to Take Photos of the Stars
Before you even look through the viewfinder, a methodical preparation routine is your key to success. I treat this like a pilot’s pre-flight checklist. Missing one step can ruin a perfect night.
Preparing Your Camera for Long Exposure
My routine starts with the dial. I switch to Manual Mode every time. This gives me full command over aperture, ISO, and shutter speed.
Next, I set the file format to RAW. This captures all the data from the camera sensor. It’s essential for recovering detail in the dark sky later.
I open the aperture as wide as my lens allows. An f/2.8 or lower setting gathers the most light. This is non-negotiable for a clean exposure.
White balance is next. I manually set it to around 4200 Kelvin. This creates a neutral starting point for the image colors.
I always flip the lens to manual focus. Autofocus is useless for pinpoint stars. Then, I engage the 2-second timer drive mode. This prevents any shake from my hand.
Finally, I secure the camera to my tripod. I tighten every knob, especially since it will be angled upward. A loose plate is a disaster waiting to happen.
| Setting | My Recommended Value | Purpose |
|---|---|---|
| Shooting Mode | Manual (M) | Full control over exposure variables |
| File Format | RAW | Maximum data for post-processing |
| White Balance | 4200K (Daylight) | Neutral color baseline for the night sky |
| Drive Mode | 2-Second Timer | Eliminates camera shake from shutter press |
I double-check my battery and memory card. Cold air drains power fast. A dead camera ends the session.
This disciplined approach lets me focus on composition when I’m on location. The technical work is already done. Now, I can just create.
📸 Master the Night Sky
Capturing the cosmos requires the right gear, technique, and post-processing. Master every step with our detailed guides:
- The Gear: Ensure you have the right glass. Check our top picks for the Best Lenses for Astrophotography.
- Specific Targets: Want to capture the galaxy? Read the Milky Way Photography Settings Guide.
- Image Creation: The magic happens in post-production. Learn How to Edit Astrophotography Like a Pro.
Pro Tip: Experts at Space.com recommend always using the 500 Rule to prevent star trails when setting your exposure time.
Planning Your Night Sky Shoot and Finding the Perfect Location
Planning your shoot is the silent partner to your camera settings. Ignore it, and you’ll come home empty-handed. I’ve learned this through missed opportunities.
Choosing the Right Time and Moon Phase
I always check the moon phase first. A new moon provides the darkest night sky. It’s ideal for capturing the Milky Way.
Up to 30% moon visibility can work. The light must be low and behind you. It gently illuminates the foreground.
Anything brighter starts washing out the stars. I never include the moon itself in the frame with them. It simply overpowers the exposure.
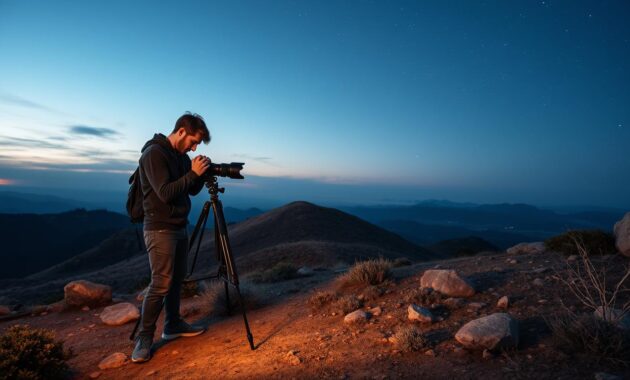
My favorite time of year is May or June. The Milky Way rises early, offering more sociable shooting hours. September and October are also excellent for a setting composition.
Location is everything. You must escape city light pollution. I often drive over an hour to find truly dark skies.
The PhotoPills app is my essential tool. It shows the Milky Way‘s position at any time and location. It eliminates all the guesswork.
I scout during daylight for interesting foregrounds. Rocks, trees, or lakes add depth. I also check the cloud forecast. A few clouds add drama, but thick cover ends the night.
Mastering Camera Settings for Astrophotography
The magic of a sharp, detailed night sky photo hinges on three simple numbers. Getting them right transforms a dark, noisy frame into a clear window to the cosmos.
Balancing Aperture, Shutter Speed, and ISO
My go-to starting point is 25 seconds, f/2.8 aperture, and ISO 1600. This trio is your foundation. Earth’s rotation caps your shutter speed at about 30 seconds before stars trail.
Since time is limited, open your lens to its widest aperture. An f/4 lens can work if you push ISO to 1600 and use the full 30-second exposure.
ISO is your final adjustment. In dark skies, I sometimes need ISO 6400. This introduces noise, but it’s the trade for capturing faint star light.
Understanding the Exposure Triangle and the 500 Rule
Forget the generic “500 Rule.” It doesn’t account for your specific camera sensor or focal length. I’ve seen it cause blurry shots.
Instead, I use the Spot Stars tool in PhotoPills. With my 24mm lens at f/1.8, it recommends a 7-second exposure. I shoot 6-8 seconds for pin-sharp stars.
If your lens opens to f/1.4, try f/1.8. This slight stop-down often yields sharper stars with minimal light loss. Locations with ambient light, like a lit building, can let you lower ISO to 2500, reducing noise significantly.
Achieving Perfect Focus on Stars
Nothing ruins a night sky photo faster than soft, out-of-focus stars. I’ve learned this through frustrating trial and error. Getting that razor-sharp focus is the final, crucial step.
Your camera’s autofocus will fail in the dark. You must take full control.
Manual Focus Techniques
Immediately switch your lens to manual focus mode. This is non-negotiable. One reliable method is to turn the focus ring to the infinity mark (∞).
Then, back it off slightly. True optical infinity often isn’t perfectly aligned on the barrel.
If a distant streetlamp or building light is visible, use it. Focus on that light using your viewfinder. This gives you a solid starting point.
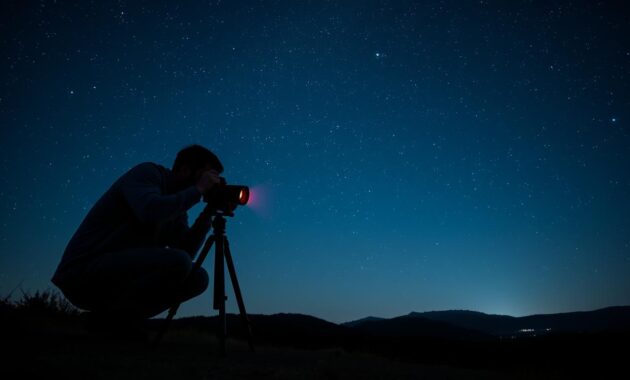
Using Live-View and Focus Peaking
My go-to technique relies on live-view. Find a bright star on your LCD screen. It doesn’t need to be in your final composition.
Zoom in digitally, usually 5x or 10x. Slowly turn the focus ring. Watch the star shrink into the smallest, tightest pinpoint possible.
If your camera has focus peaking, enable it. Colored highlights will appear on in-focus areas. This provides instant visual feedback in the dark.
| Focus Method | Key Steps | Best For |
|---|---|---|
| Live-View Magnification | Zoom on a bright star, adjust ring until star is a pinpoint. | Precise control, cameras with good LCD screens. |
| Infinity Mark Adjustment | Set lens to ∞, then slightly back off the focus ring. | Fast setup, when bright stars are not visible. |
| Distant Light Reference | Manually focus on a far-away artificial light source. | Locations with minimal light pollution. |
Always take a test shot. Zoom in on the playback to check the details. Stars in the center should be round, sharp points.
If they look blurry or elongated, adjust your focus or shutter speed. Don’t worry if edge stars are softer. That’s normal for wide-angle lenses.
Capturing Dynamic Compositions with Foreground Interest
I used to point my camera straight up, but my photos felt empty until I learned to look down. The most compelling night sky images aren’t just about the stars. They tell a story with scale and context.
A strong foreground anchors your composition. It shows the vastness of the cosmos above. Think of a mountain silhouette or a lake reflecting the sky.
Simply framing nothing but stars creates a flat image. Adding a lone tree or an old building transforms it. The scene becomes emotionally resonant.
Integrating Landscapes and Silhouettes
Think like a landscape photographer working at night. Your backdrop is the Milky Way. Your subject is on the ground.
| Foreground Element | Visual Impact | Best Shooting Condition |
|---|---|---|
| Mountain Silhouette | Creates powerful scale and drama. | New moon for darkest sky contrast. |
| Lake Reflection | Doubles the celestial scene, adds symmetry. | Calm, windless night. |
| Ancient Building or Tree | Adds human or natural history, tells a story. | Some ambient light or moonlight for texture. |
| Rock Formations | Provides leading lines and interesting shapes. | Any dark sky phase. |
Stay alert for magical bonuses. A shooting star appears in just one shot, unlike satellites. Visible planets like Jupiter add points of interest.
Don’t fear a few clouds. They add a beautiful three-dimensional effect. Even a full moon can illuminate stunning landscapes. This photography is about seeing the whole scene.
Editing Techniques to Enhance Your Star Photos
I used to think a great star photo was made only in the field, but I was wrong. The real magic often happens later, on your computer. Your camera’s RAW files contain incredible hidden data.
Post-processing is where you reveal that potential. It turns a decent image into a breathtaking one. I do extensive retouching in Lightroom, though software like Capture One or Luminar NEO works well.
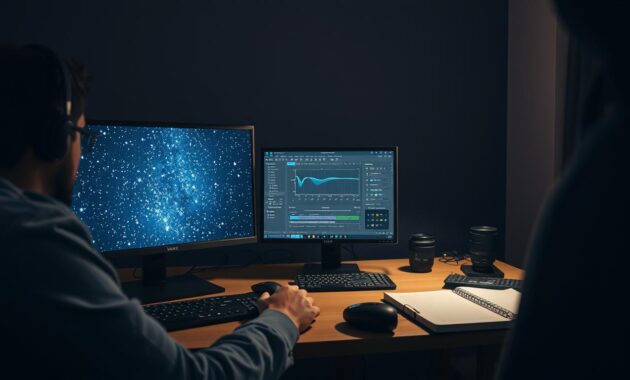
Noise Reduction and White Balance Adjustments
High ISO creates grain. My first editing step is always noise reduction. I set Luminance to around 33 and Color to 25. This cleans the photo without destroying fine star detail.
Next, I make the stars pop. I often push Whites to +46 and pull Blacks to -52. Adding Clarity around +55 defines each pinpoint of light. A slight Saturation boost brings out the natural blues.
Playing with white balance is my favorite creative tool. Adjusting Temperature and Hue sliders changes the entire mood. You can create cool blue or warm orange images from the same file.
For advanced editing, I use software like Starry Landscape Stacker. It blends multiple shots to reduce noise. Sometimes I take a separate foreground image at low ISO and blend it in Photoshop for a perfectly clean final photo.
Additional Tips and Advanced Techniques
I remember the first time I tried a star trail—seeing those circular paths of light felt like unlocking a secret layer of the cosmos. Once you’re comfortable with single exposures, these creative methods can elevate your work.
Exploring Star Trails, Time Lapse, and Stacking Exposures
Star trails illustrate Earth’s rotation. Use very long exposures or blend many shorter shots. The results are mesmerizing circular trails around Polaris.
For a time-lapse, set your camera to interval shooting. Capture hundreds of frames over hours. Compile them into a video showing the Milky Way’s dramatic march across the sky.
Stacking exposures is a game-changer for noise reduction. I capture 10-20 identical frames. Software like Sequator blends them, preserving fine detail while eliminating grain.
My best tip? Master one method at a time. A star tracker allows minute-long exposures for deep-sky objects. Multi-row panoramas create ultra-wide views.
These advanced techniques require patience. But the way they reveal the universe’s motion is worth every bit of effort.
Conclusion
The true joy of astrophotography lies in the moment your camera reveals the hidden night sky. Looking back, I see each photo of stars I’ve taken as a lesson in light and patience.
The seven steps we covered provide everything you need. Your initial photos may not be perfect, but each session under the stars teaches you something valuable.
This photography blends technical skill with creative vision. You make artistic choices about composition and angle. Don’t let equipment limits stop you. I’ve seen breathtaking results from basic cameras.
Start with the fundamentals. Enjoy the process of capturing stunning photos of the cosmos. Grab your camera, find a dark spot, and apply these tips. You’ll gain a new point of view on the incredible stars above us.
FAQ
Can I use a kit lens for astrophotography, or do I need a special one?
What’s the single most important piece of equipment after the camera?
How do I focus in complete darkness? Autofocus never works.
What is the “500 Rule” and should I always use it?
My photos have a weird orange glow and lots of grain. What went wrong?
What’s the best way to plan for a Milky Way photoshoot?
What’s the difference between a single exposure and star trails?

I’m Rodrigo Durães, founder of CareersForge — the world’s leading career platform — and recognized as one of the most comprehensive and experienced career and life coaches globally. With multiple academic degrees from the world’s top universities and over two decades of experience as a CEO, my mission is clear: to help people unlock their full professional potential through honest, strategic, and proven content.